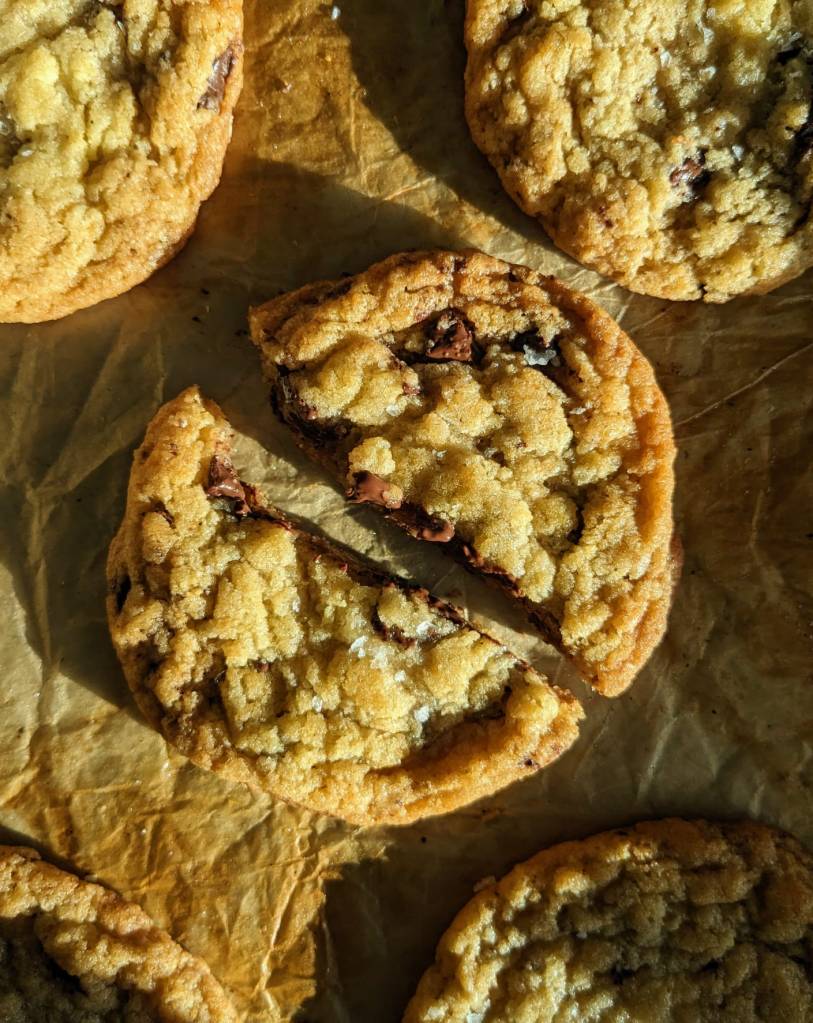
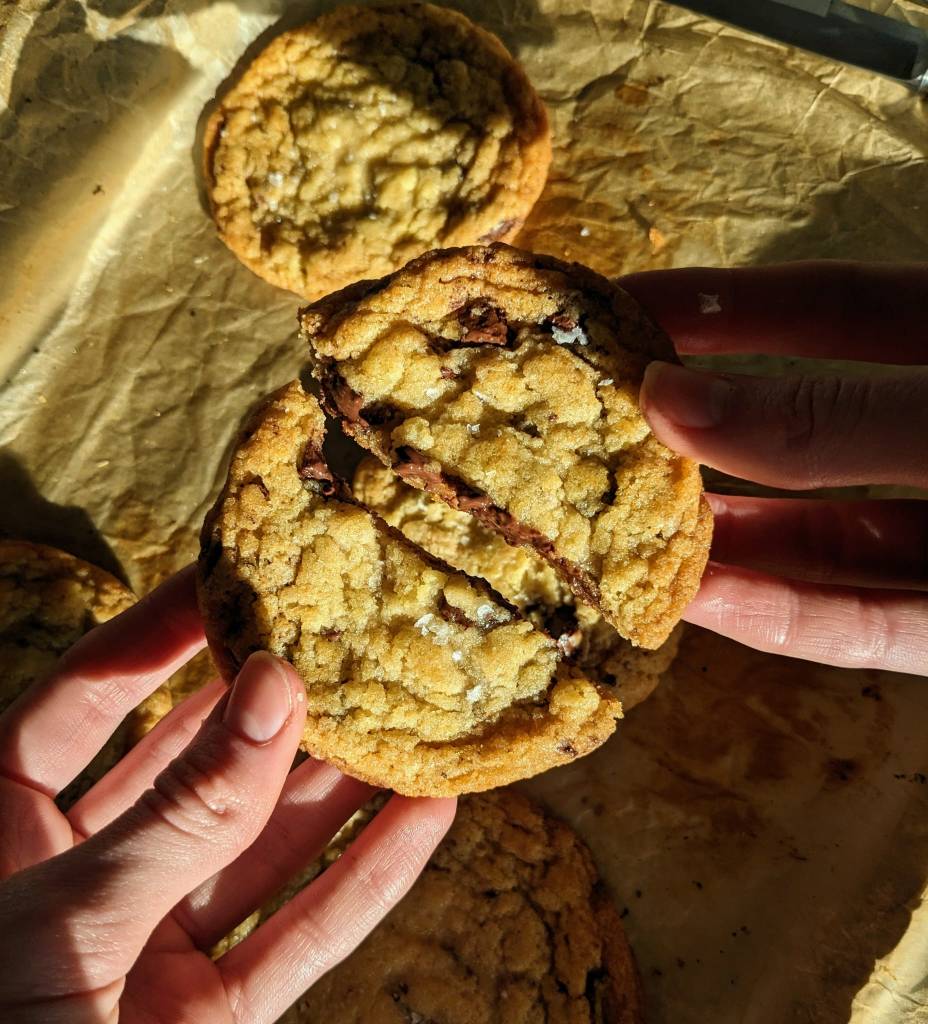
The. Best. Cookies. Ever. They have a chewy centre, crinkly edge, dreamy flavour, and it’s all down to one ingredient – banana! Basically, banana is a natural egg-replacement which acts in a similar way, this results in a perfectly textured cookie with just a slight banana flavour (trust me, it works).
You might be a little skeptical toward the idea of a “banana cookie”, but after this recipe you will never go back. Since being vegan it can be difficult to find a cookie with the classic chewy, crisp & crinkly texture, but this recipe ticks every box. Even though I class these cookies as my #1, the dreaded dough chilling step is vital in this recipe (it doesn’t have to be very long, don’t worry). Further on in the recipe I will tell you why, so stay tuned and don’t skip the chilling!
If you found this recipe to your liking, take a look at my other cookie recipes


You may also want to subscribe to my newsletter to receive all of my latest recipes straight into your inbox, for free.
JUMP TO:
• What you’ll need
• FAQ’s
• The history of cookies
• Detailed cookie method
• Recipe
What you’ll need
Ingredient list:
• Bananas | The key ingredient, it is severely important that you use ripe bananas. By ripe, I mean black skins and bruised inside. Ripe bananas are softer (therefore easier to mash) and far sweeter. As they ripen, the starches in the fruit convert to sugars, perfect for baking
• Brown “butter” | To make this vegan, you pretty much follow the same steps as you would with dairy butter. You won’t see the same browning as that comes from the milk solids – but you will find that the “butter” becomes transparent, foamy, and releases a nutty aroma. This elevates the flavour profile of these cookies, I highly recommend taking this step.
• Room temp “butter” | I use half browned and half room temp, this provides both flavour and structure. When the fat is in a solid state, you are able to whip it, incorporating air into it for an even-textured cookie.
• Brown sugar | I use this for flavour, and the chew factor. I am a chewy cookie enthusiast, and brown sugar does the job. It is denser in texture which creates less air pockets during creaming. This means there is less gas being trapped in the dough, resulting in a cookie with less rise and more spread.
• White sugar | Here you can use caster sugar or granulated. I use this for the perfect chew to crisp ratio. White sugar is hygroscopic, which means it will absorb the liquid in the dough, slowing down the gluten development, making a crispier cookie.
• Vanilla | You can use extract, paste or pods. It is vital for a well flavoured cookie, so I highly recommend using a high quality vanilla. Trust me, the extra few ££ is sooo worth it.
• Plain flour | This is also known as all-purpose flour. This contains no baking soda or powder, meaning you can control how much you put into the dough. Do not use another flour.
• Baking powder | This will allow the cookie to both spread and retain just a little height. Because of the banana, the cookies will become quite flat, so baking powder is essential. When it is moistened in the dough, a chemical reaction takes place in which carbon dioxide is produced, inflating baked goods.
• Baking soda | This is typically used for chewy cookies, it also contributes to cookie browning. It also encourages cookie spreading by raising the doughs pH, slowing down protein coagulation, resulting in a more evenly baked cookie.
• Salt | I use fine sea salt in the dough for flavour, it is much easier to incorporate into the dough. Salt will amplify the flavour of your cookies. I highly recommend sprinkling a very small pinch of flaky sea salt over the top of the cookies after they get out of the oven, trust me.
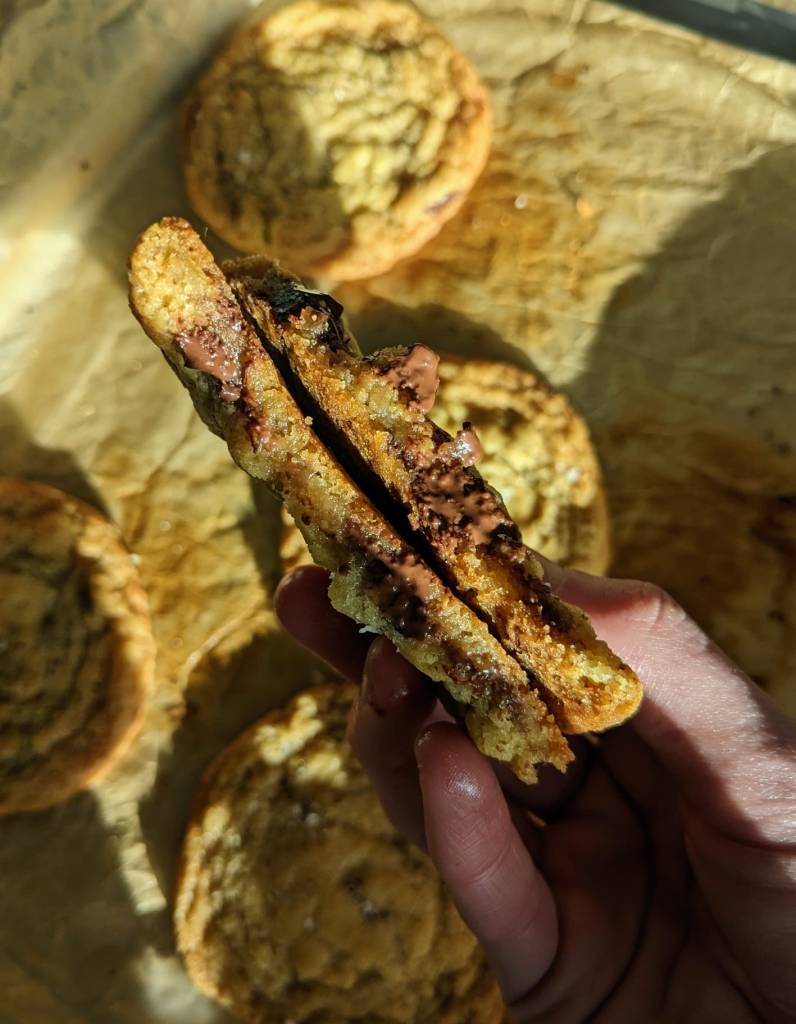
• Chocolate chunks | I use one bar of vegan green & blacks 50% dark chocolate, weighing 80g. In my opinion this provides the richness that you get from dark chocolate, but also the subtle sweetness we all know and love from “milk” chocolate. I always use chocolate chunks instead of chips, because it provides a more bakery style cookie. Chocolate chips have a kept structure, so they don’t melt and pool like bars. And, hand chopped chocolate chunks provide uneven pieces for variations of texture, AKA the best ever cookie.
Equipment list:
• Large mixing bowl | You can also use the bowl of a stand mixer. Use a large bowl so you have room to fully incorporate all of your ingredients.
• Kitchen scales | I highly recommend that you use scales rather than measuring cups. I say this because scales measure by weight, cups measure by volume. Cup measurements are not accurate, therefore I cannot guarantee consistent results.
• Electric hand mixer | It is important to whip the “butters” and sugars, and a hand mixer is a great help. You can make this with a stand mixer or even just a whisk and spatula, I find a hand mixer works best.
• Spatula | Although it’s technically not required, a spatula is pretty much a baker’s hero. You can, however, use a wooden spoon. This is to fold in the dry ingredients, helping to not overmix the dough.
• Measuring spoons | These are used for the vanilla, baking soda, powder & salt. I will be honest, most of the time I eyeball the vanilla, measure it by heart.
• Saucepan | A small one will do, even just a milk warmer. This is just for browning the butter.
• Chopping board | Use this for chopping the chocolate and mashing the banana.
• Cookie sheet | You can also use an ordinary oven tray, but cookie sheets typically provide more even cooking. Just be sure the cookies have enough room to spread.
FAQ’S
• How long will the cookies last? | Once baked, they will store for about 3-4 days sealed at room temp. They will last a little longer in the fridge, up to 1 week. If the cookies become stale, you can always place them in a warm oven for a few mins to retain their chew & crunch, you can also eat them warm with ice cream!
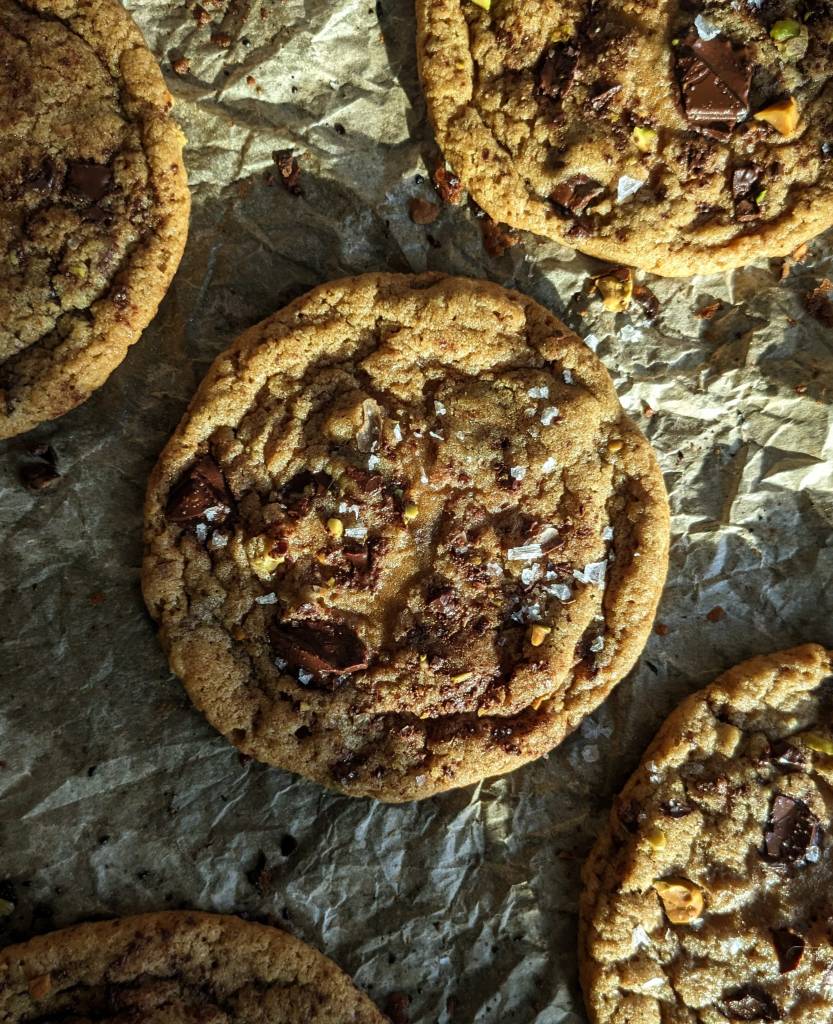
• Why do you chill the dough? | Even though this step is a little tedious, it has a vital role in creating the perfect cookie. If you chill the dough for a while (up to 3 months!), the flavours will develop slowly, creating an even tastier result. Chilling cookie dough allows the fats to cool, resulting in a cookie that expands slower, retaining their chewy, dreamy texture. The crinkly edges you see on the cookies is the outcome of chilling dough!
• Can I freeze the dough? |Yes yes yes! In the recipe I suggest you freeze the pre-shaped balls for at least 1 hour, but I have frozen them for 1 month and I have never had a better cookie. You can freeze them for up to 3 months but I doubt they will last that long. If you plan on freezing, be sure to shape the cookie dough balls as the dough becomes solid once frozen, and it will be very difficult to shape.
• How do I bake frozen cookie dough? | If you froze your cookie dough balls, you’re going to want to know exactly how to bake them. Fortunately, the baking is extremely similar to the one I mention in the method. Simply pre-heat your oven for 10 minutes, in the last 5 mins remove your cookie dough balls from the freezer. Line a baking sheet, place your cookies on, and bake for the same amount of time as I say in the method.
• Can I replace the banana? | Even though the banana is what makes these cookies so unique, you can replace it. To get a similar result without the subtle banana flavour, you can substitute it with 6 tbsp aquafaba.
The history of cookies
Cookies place of origin is in Persia where they date back as early as the 7th century AD. Persia was one of the first countries ever to grow and harvest sugar cane. Cookies are thought to have started off being an oven temperature tester. So many bakers would bake what are now known as ‘cookies’ to test if the oven temperature was right, before putting their baked good into the oven.
By the 14th century, cookies had spread through out the whole of Europe and were enjoyed by all levels of society, from royal cuisine to street venders.
Cookies were first introduced to America by the English in the 1600s. At this time, cookies went by many names like small cakes, seed biscuits, and tea cakes. Cookies got their name as we know it today in America.

Detailed Cookie Method
① Brown the butter | Simply add the butter to a saucepan and melt until it begins to foam. When doing this with vegan butter, you will not see the same visual browning as you would with dairy. What you will see: the butter will become transparent and begin to foam, producing a nutty aroma.
② Creaming | This step consists of beating the browned & room temp butter with the white & brown sugar. This will help to lighten and leaven your cookies, so be sure to not rush this step. An electric hand whisk is used to do this faster and incorporate the ingredients thoroughly, though you can use an ordinary whisk. Cream the mixture until you see it increase in volume slightly (as air comes into it) and is lighter in colour.
③ Mash the banana | I prefer doing this step on a chopping board or plate, it is much easier. If you are using ripe/overripe bananas as the recipe suggests, this step should be easy. Try your best to mash the banana until no lumps remain; nobody wants a banana chunk in their cookie!
④ Combine the wet ingredients | To the creamed butter & sugars mixture, add the mashed banana and vanilla. Whip this again to fully incorporate the ingredients.
⑤ Combine the dry ingredients | Many recipes ask you to mix the dry ingredients in a separate bowl, but I find this pretty unnecessary. So, this recipe is one bowl. Measure out your flour, leaveners and salt as you add it to the wet ingredients. At this point, you want to be cautious of overmixing, so the recipe requires you to use a spatula to fold the dry to the wet. Do this just until combined, few flour streaks should remain.
⑥ Fold in the chocolate | Chop the chocolate bar into uneven chunks, this creates dreamy pools of chocolate spread around each cookie. Add to the dough and fold to just combine.
⑦ Shape and freeze | Divide the dough into balls with either a cookie scoop or your hands. I use a 3 inch scoop to do this. It will make approx. 20 cookies. Place them in a lined container and freeze for at least 1 hour. At this stage, you can freeze the cookie dough balls for up to 3 months, they will bake just the same. For the best results, you can freeze the cookie dough balls overnight or more before baking.
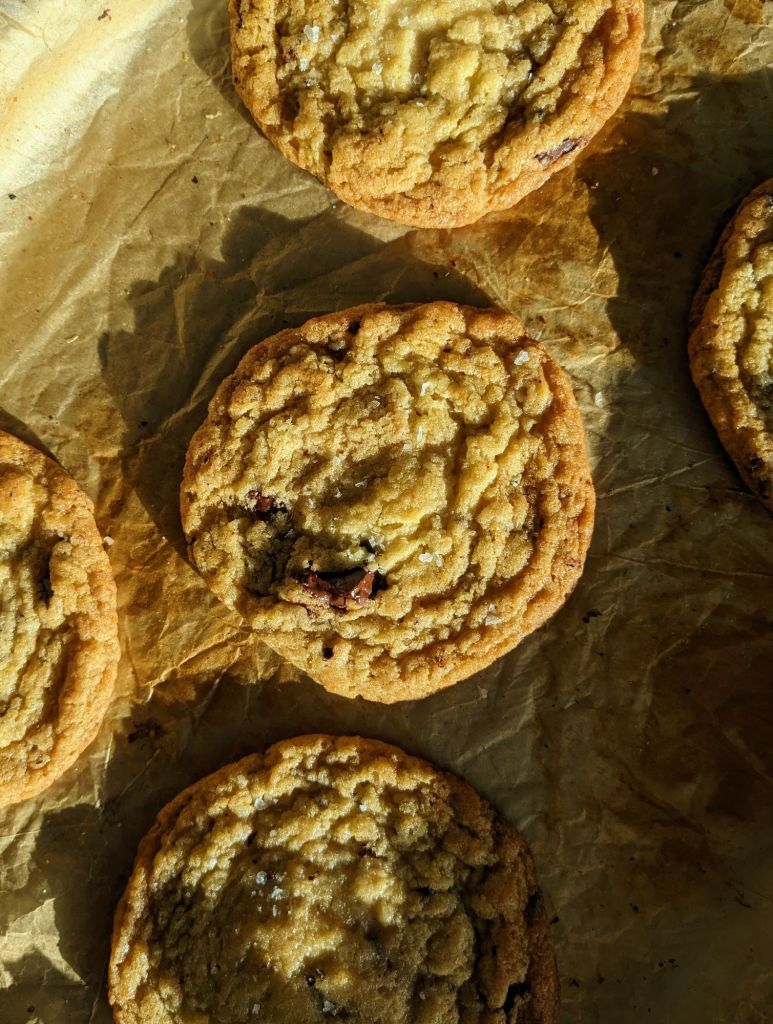
⑧ Bake | Pre-heat the oven 10 minutes before baking, to 190c (conventional oven) / 170c (fan oven) / 375f. Line cookie sheets with parchment paper. Place the cookie balls on the baking sheets with enough room to spread (they spread a lot), I fit 5 on one tray. You may not be able to bake the cookies all at once, so keep the remaining cookie balls in the freezer. Bake them for 12-13 minutes until flattened, golden, crisp on the edges & soft in the centre.
⑨ Cool and enjoy | Take the trays from the oven, if the cookies have slightly risen, bang the tray on a counter to release some of the air. Sprinkle with flaky sea salt and let cool completely on their trays (or eat warm with ice-cream). Enjoy!
Vegan chewy banana & chocolate chunk cookies
prep time: 15 mins / serves: 20+ cookies / cook time: 12-13mins
Ingredients:
• 115g vegan butter, browned
• 115g vegan butter, softened
• 80g brown sugar
• 220g white sugar
• 1 medium banana, ripe
• 1 tsp vanilla
• 330g plain flour, all-purpose
• 1 tsp baking powder
• 1 tsp baking soda
• 1/2 tsp salt
• 80g vegan chocolate chunks, 50% cocoa
• flaky sea salt for topping
Method (more detailed version can be found above):
① Add both the butters and both the sugars to a large mixing bowl.
② Whip with an electric hand whisk until pale and fluffy.
③ Add the mashed banana and vanilla, whip again until fluffy and combined.
④ Add the flour, baking powder, baking soda and salt.
⑤ Fold with a spatula until just combined, don’t overmix.
⑥ Add the chocolate chunks and fold to fully combine.
⑦ Shape the cookie balls with a cookie scoop or your hands.
⑧ Place in a container and freeze for at least 1 hour, up to 3 months.
⑨ Pre-heat the oven to 190c, place the cookies on a lined baking sheet.
⑩ Bake for 12-13 minutes until crispy edges & soft centre.
⑪ Sprinkle with flaky sea salt, let cool on the trays completely & enjoy!

Leave a comment